Winter is probably one of the hardest seasons for me as a tournament angler to deal with. It isn’t because of the business end of sponsorships, or preparations for the upcoming season, but rather because I usually go through some serious open water withdrawals. I start to get a little twitchy, and find it hard to sit still. For most of my counterparts, ice fishing seems to be a good temporary fix, however, it just isn’t my cup of coffee. As for myself, I prefer to get hairy.
One of my favorite ways to pass the time in the off season, especially during winter is to tie up all of my own hair jigs for the fast approaching spring bite. They are one of my all-time favorite lures, and continue to produce for me year after year. I started tying flies when I was about seven years old. Most of them were very crude, but I learned quickly. Upon entering the walleye world, I was able to transition from tying on a size 22 nymph hook to a 2/0 jig fairly easily.
Tying hair jigs can be an awesome way to kill some time, and also give you an edge on the competition, since you can come up a myriad of custom patterns nobody else can buy. Getting started is very simple, and requires very few tools. To begin, you will need a fly tying vise. You don’t need the fancy $400 versions starting out. I have been tying flies and jigs for 14 years, and still use the $20 vice I started with. Next is a thread bobbin; simply a tool which holds a spool of tying thread, making tying much easier. A sharp pair of scissors is a must, preferably a pair that comes to a sharp point at the tips. Lastly, a dubbing needle to apply head cement to the finished product.
It may sound expensive, but great deals can be found online at places such as www.jannsnetcraft.com, which is where I purchase most of my tying supplies. Next comes the materials. Most anything will work, but I use both natural bucktail as well as synthetic craft fur for my jigs. Both have their merits, and are readily available. Finally, you will need tying thread and head cement. I recommend using a thread designed for fly tying, not sewing! Tying threads lay flat and are durable enough to tie with. Usually, I tie with a size B thread. Lastly, head cement, which is essentially a clear lacquer, is used to seal up the threads and make the jig indestructible.
As far as jigs are concerned, most any will work. I prefer to use the minnow style heads, as well as the tear drop river style heads. For this example, I am using a 1/4oz Northland Thumper Jig in the firetiger pattern.

To begin, place the jig in your vise right side up, securing it tightly. To start the jig, begin making a thread base by wrapping thread over the collar of the jig (the area behind the head and before the keeper barb). Secure several overlapping wraps. This helps give the hair something to bite into when it is time to wrap it on the jig.
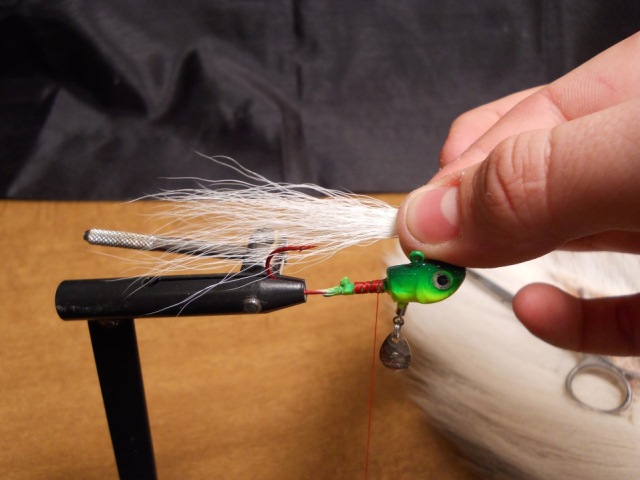
Next, cut a small bunch of hair, in this case white bucktail. Typically, I will cut the hair to be approximately one and a half times the length of the jig. Shorter hair will make a more compact package, and more will help bulk it up for a larger profile. Usually, I use light colors on the bottom, and darker colors on top to imitate a more natural baitfish look.
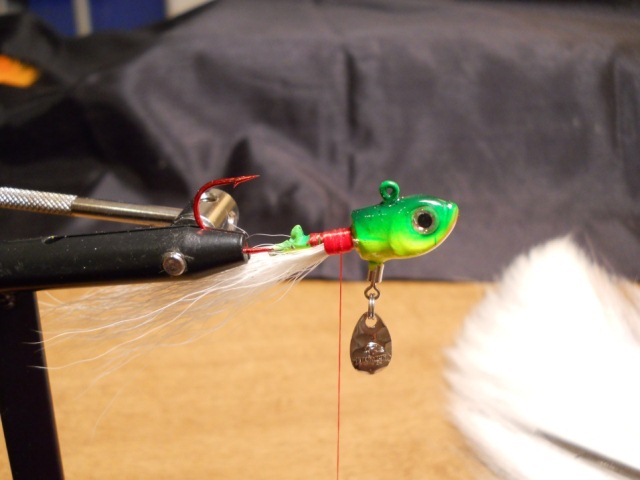
Secure the hair (starting with the belly of the jig) by making a few light wraps over the hair to hold it in place, then cinching down and continuing to wrap forward towards the head of the jig, using moderate pressure. Using the scissors, trim any excess hair away from the head of the jig, and wrap all the way to the cut ends.
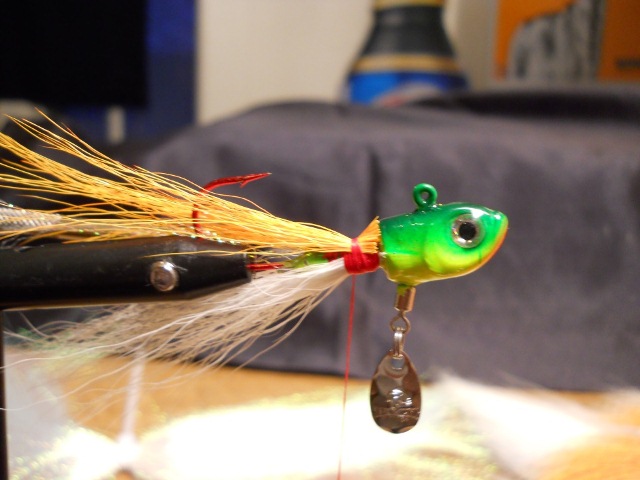
Next, add hair to the top half of the jig. Staying with the firetiger pattern, I’m tying in some orange. Using the same technique as before, secure the hair with moderate pressure.
Continue to build layers of colors as your choose. If you are going to be adding multiple colors to the jig, be careful not to use too much of each color. The more hair you add, the bulkier the jig, and the slower it falls, so keep that in mind when deciding how much hair to add.
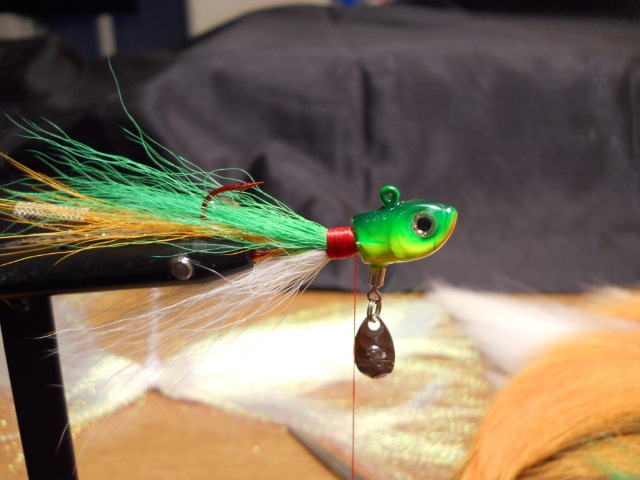
Once you have added all of the hair you want, it is time to tie off the thread. There are several methods for doing so, however, I like to use two overhand knots at the base of the head. Usually, when cinched down, they will bury themselves between the thread collar and head, making for a very secure anchoring point.

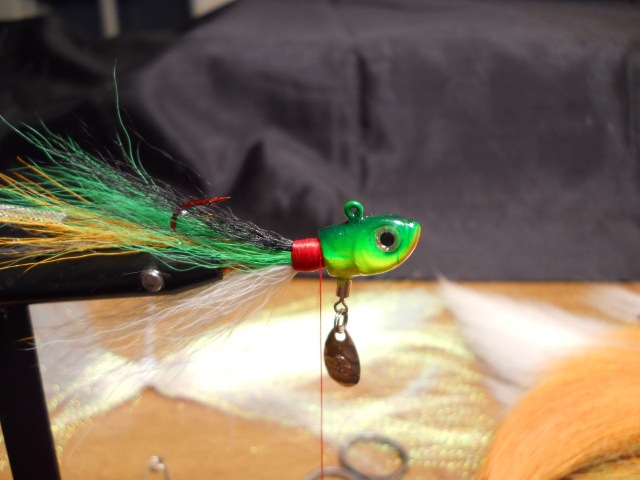
Finally, using the dubbing needle, apply a generous amount of head cement to the thread collar to seal it and make it nearly indestructible. Without this, the life of the jig is very limited, so do not skip this step! All that is left to do is let the jig dry for about 10 minutes, and it is ready to fish.
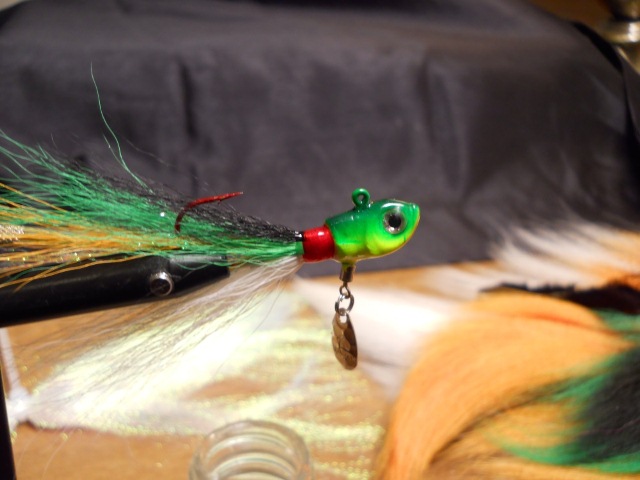
Before you know it, you will end up with five Plano 3700 boxes filled like I do every spring! Your imagination is the only limiting factor, so get crazy with it, and come up with the next best walleye destroying jig!
I’ve always wanted to try tying, but didn’t want to invest too much. Thanks for the tips, keep em coming.
Glad this article could help, thanks for stopping by Dan!