My own fishing lures?
We’ve all caught fish before on a variety of different artificial baits. You’ve probably had that exciting feeling that you get when you catch a fish with a certain style or type of bait that you’ve never used before…but have you caught a fish on you own lure? If you haven’t, it’s about as satisfying of a feeling as it gets. There is something special about not only tricking a fish into biting, but doing it with a lure that you created, not bought off the shelf.
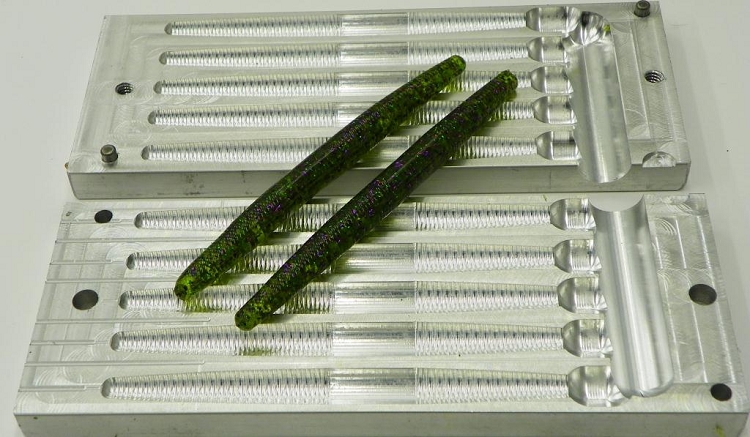
There are many reasons to pour your own soft plastic baits. One being you can tweak the bait to be the way you want it. There are times when you wish a certain bait was softer. Or wish it was in a specific color that isn’t available. These are issues easily solved when pouring your own baits and there are molds that are similar to just about all the popular baits out there. Dyes come in any color you can imagine and supplies to pour your own baits have become readily available on many websites, as the homegrown soft plastic creator trend has taken off.
Recycle
Now, lets say you want to save some money. Did you know that you can recycle your old baits and save yourself a decent chunk of change in the long run? Even if you don’t want to get into the process of purchasing plastic and colorants to create your own color combos, this is as simple as it gets. Save your ripped up soft plastics throughout the season. An added bonus is this saves them from being tossed into our waterways and/or the nearest landfill. Instead reuse them over and over.
Step 1
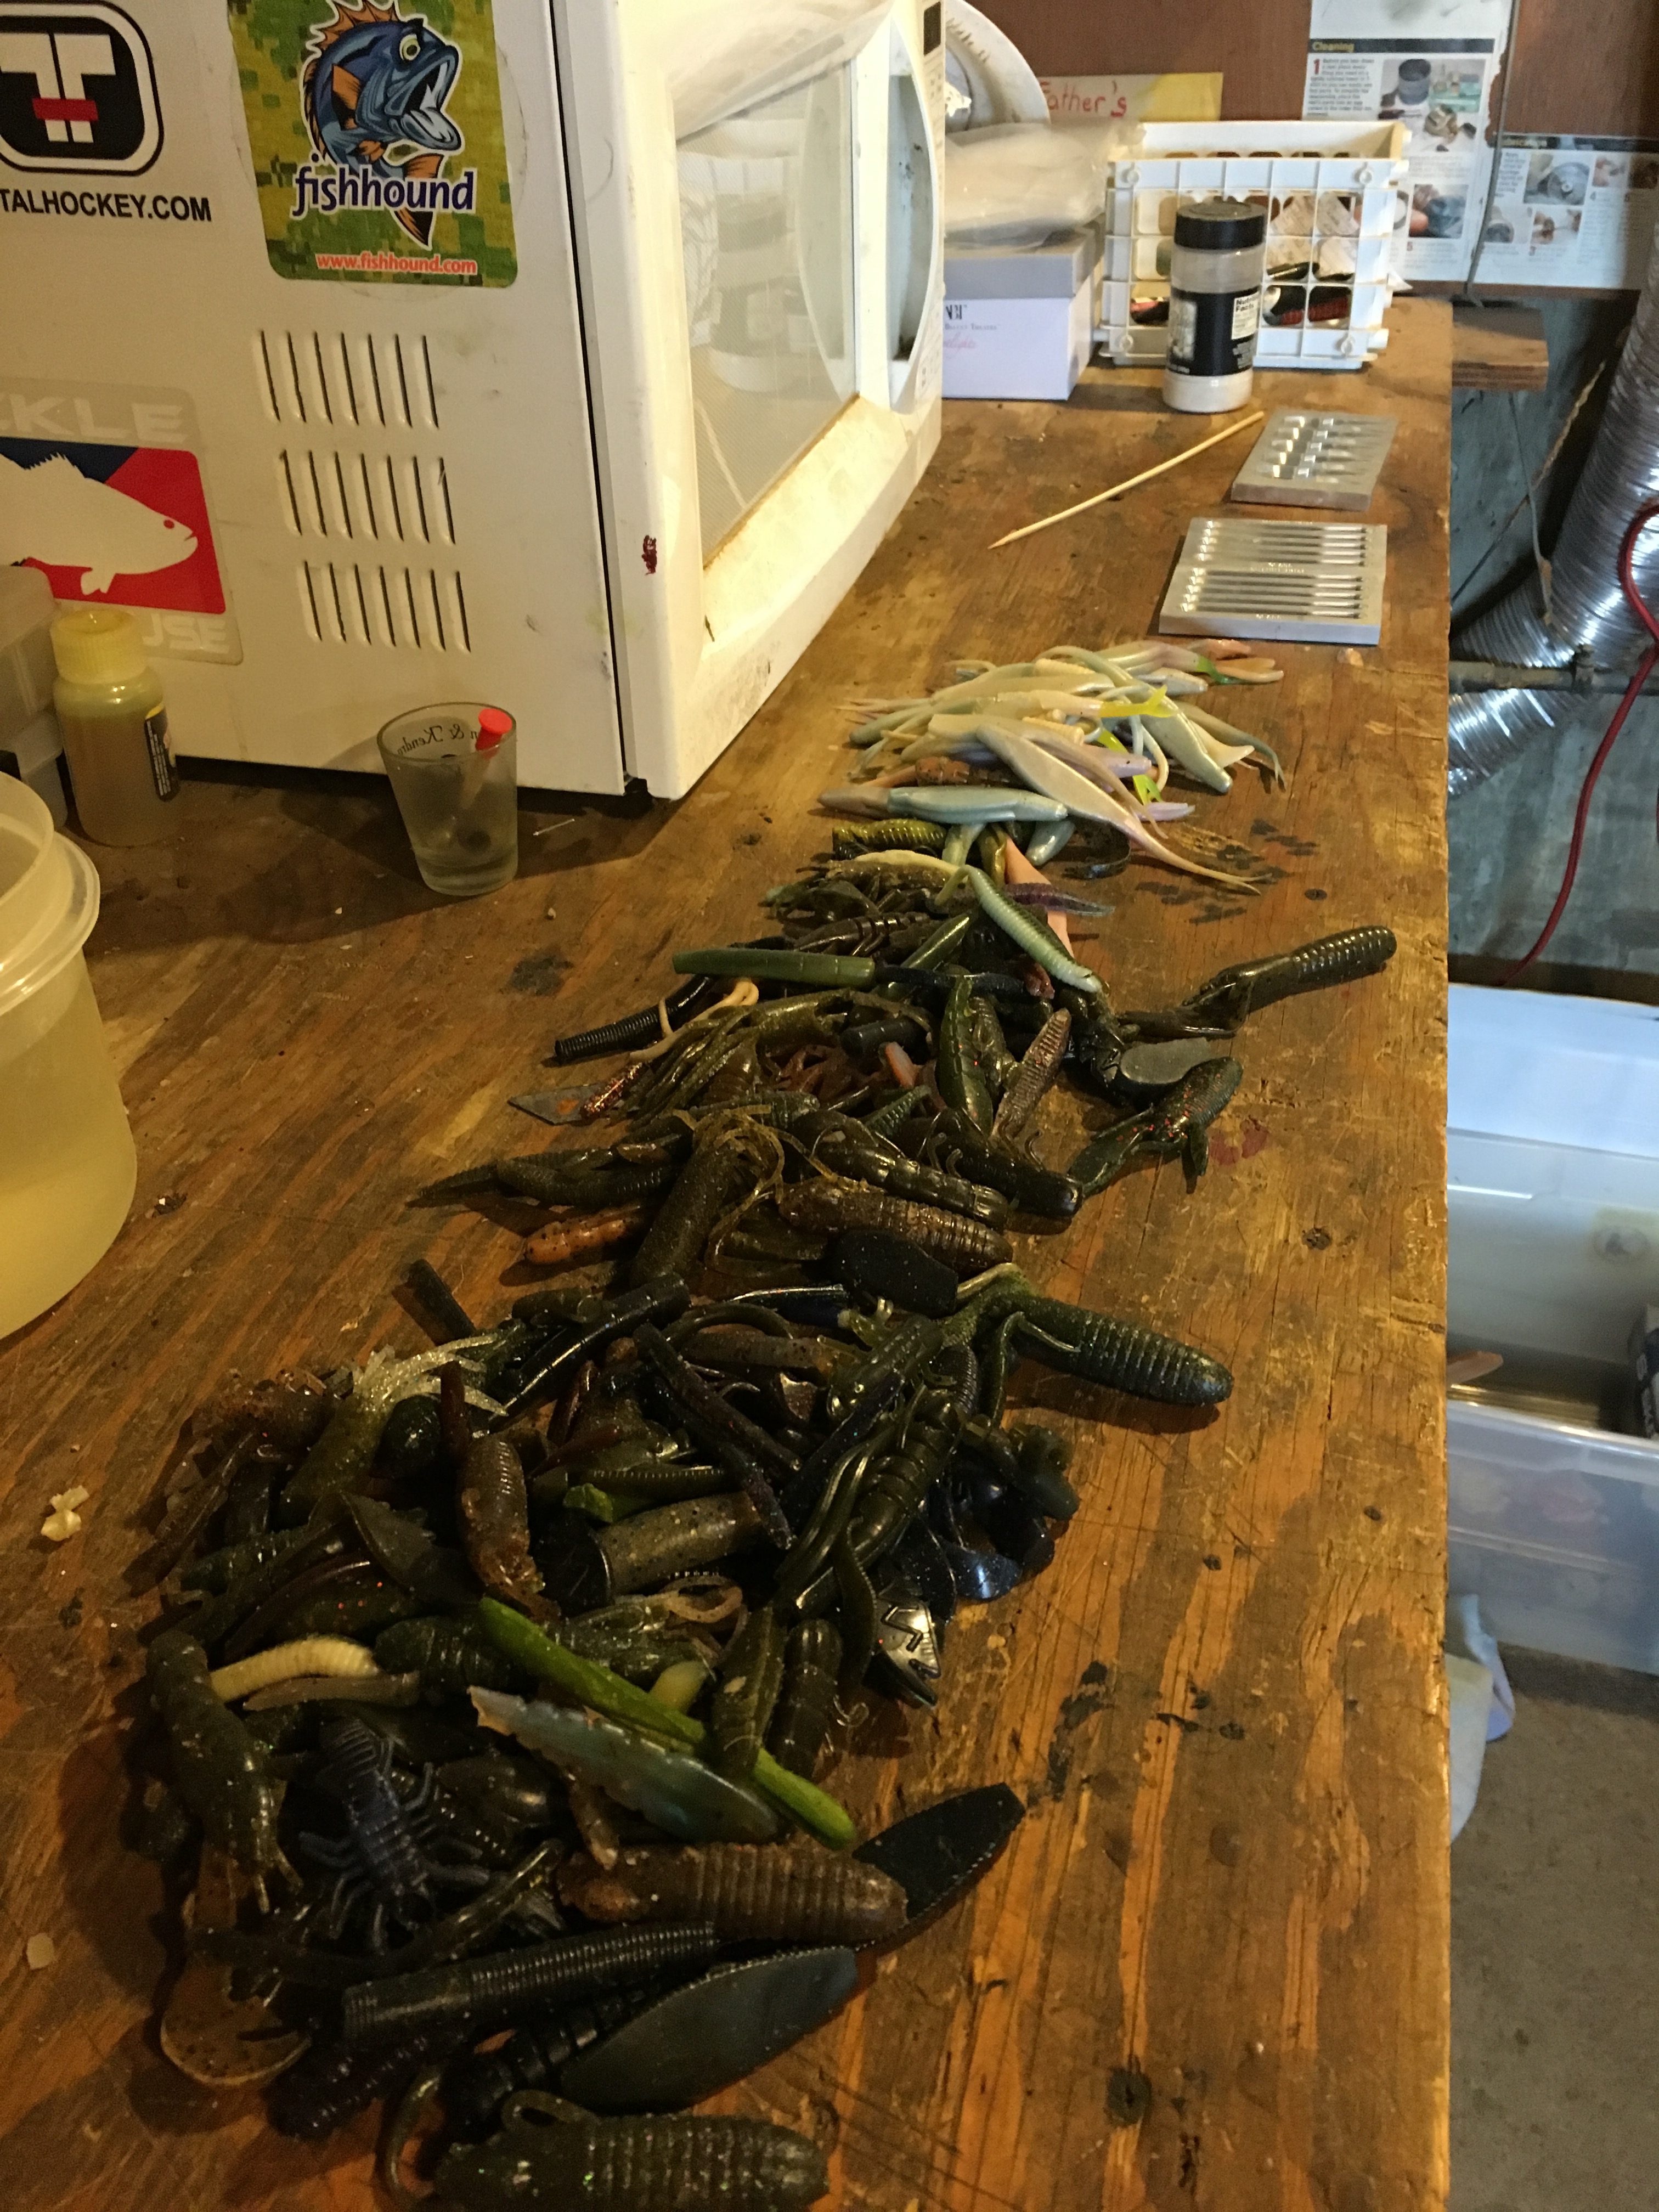
Separate them into groups. Example: Super salted baits like senkos are better to melt down together to create other senko style baits. Keep similar colors together to get a general idea of what shade your’re going to end with. You can also mix it up to get different shades as the plastics melt together. Before you begin pouring please make sure you have four important things. Ventilation is a key so you need to have some sort of a range or fan system to run while pouring to ensure proper ventilation. Secondly, it’s crucial to wear a proper mask so you are not breathing in the fumes. Safety glasses to protect your eyes and gloves so you can grab a hot glass of plastic should keep your safe during the process.
Step 2
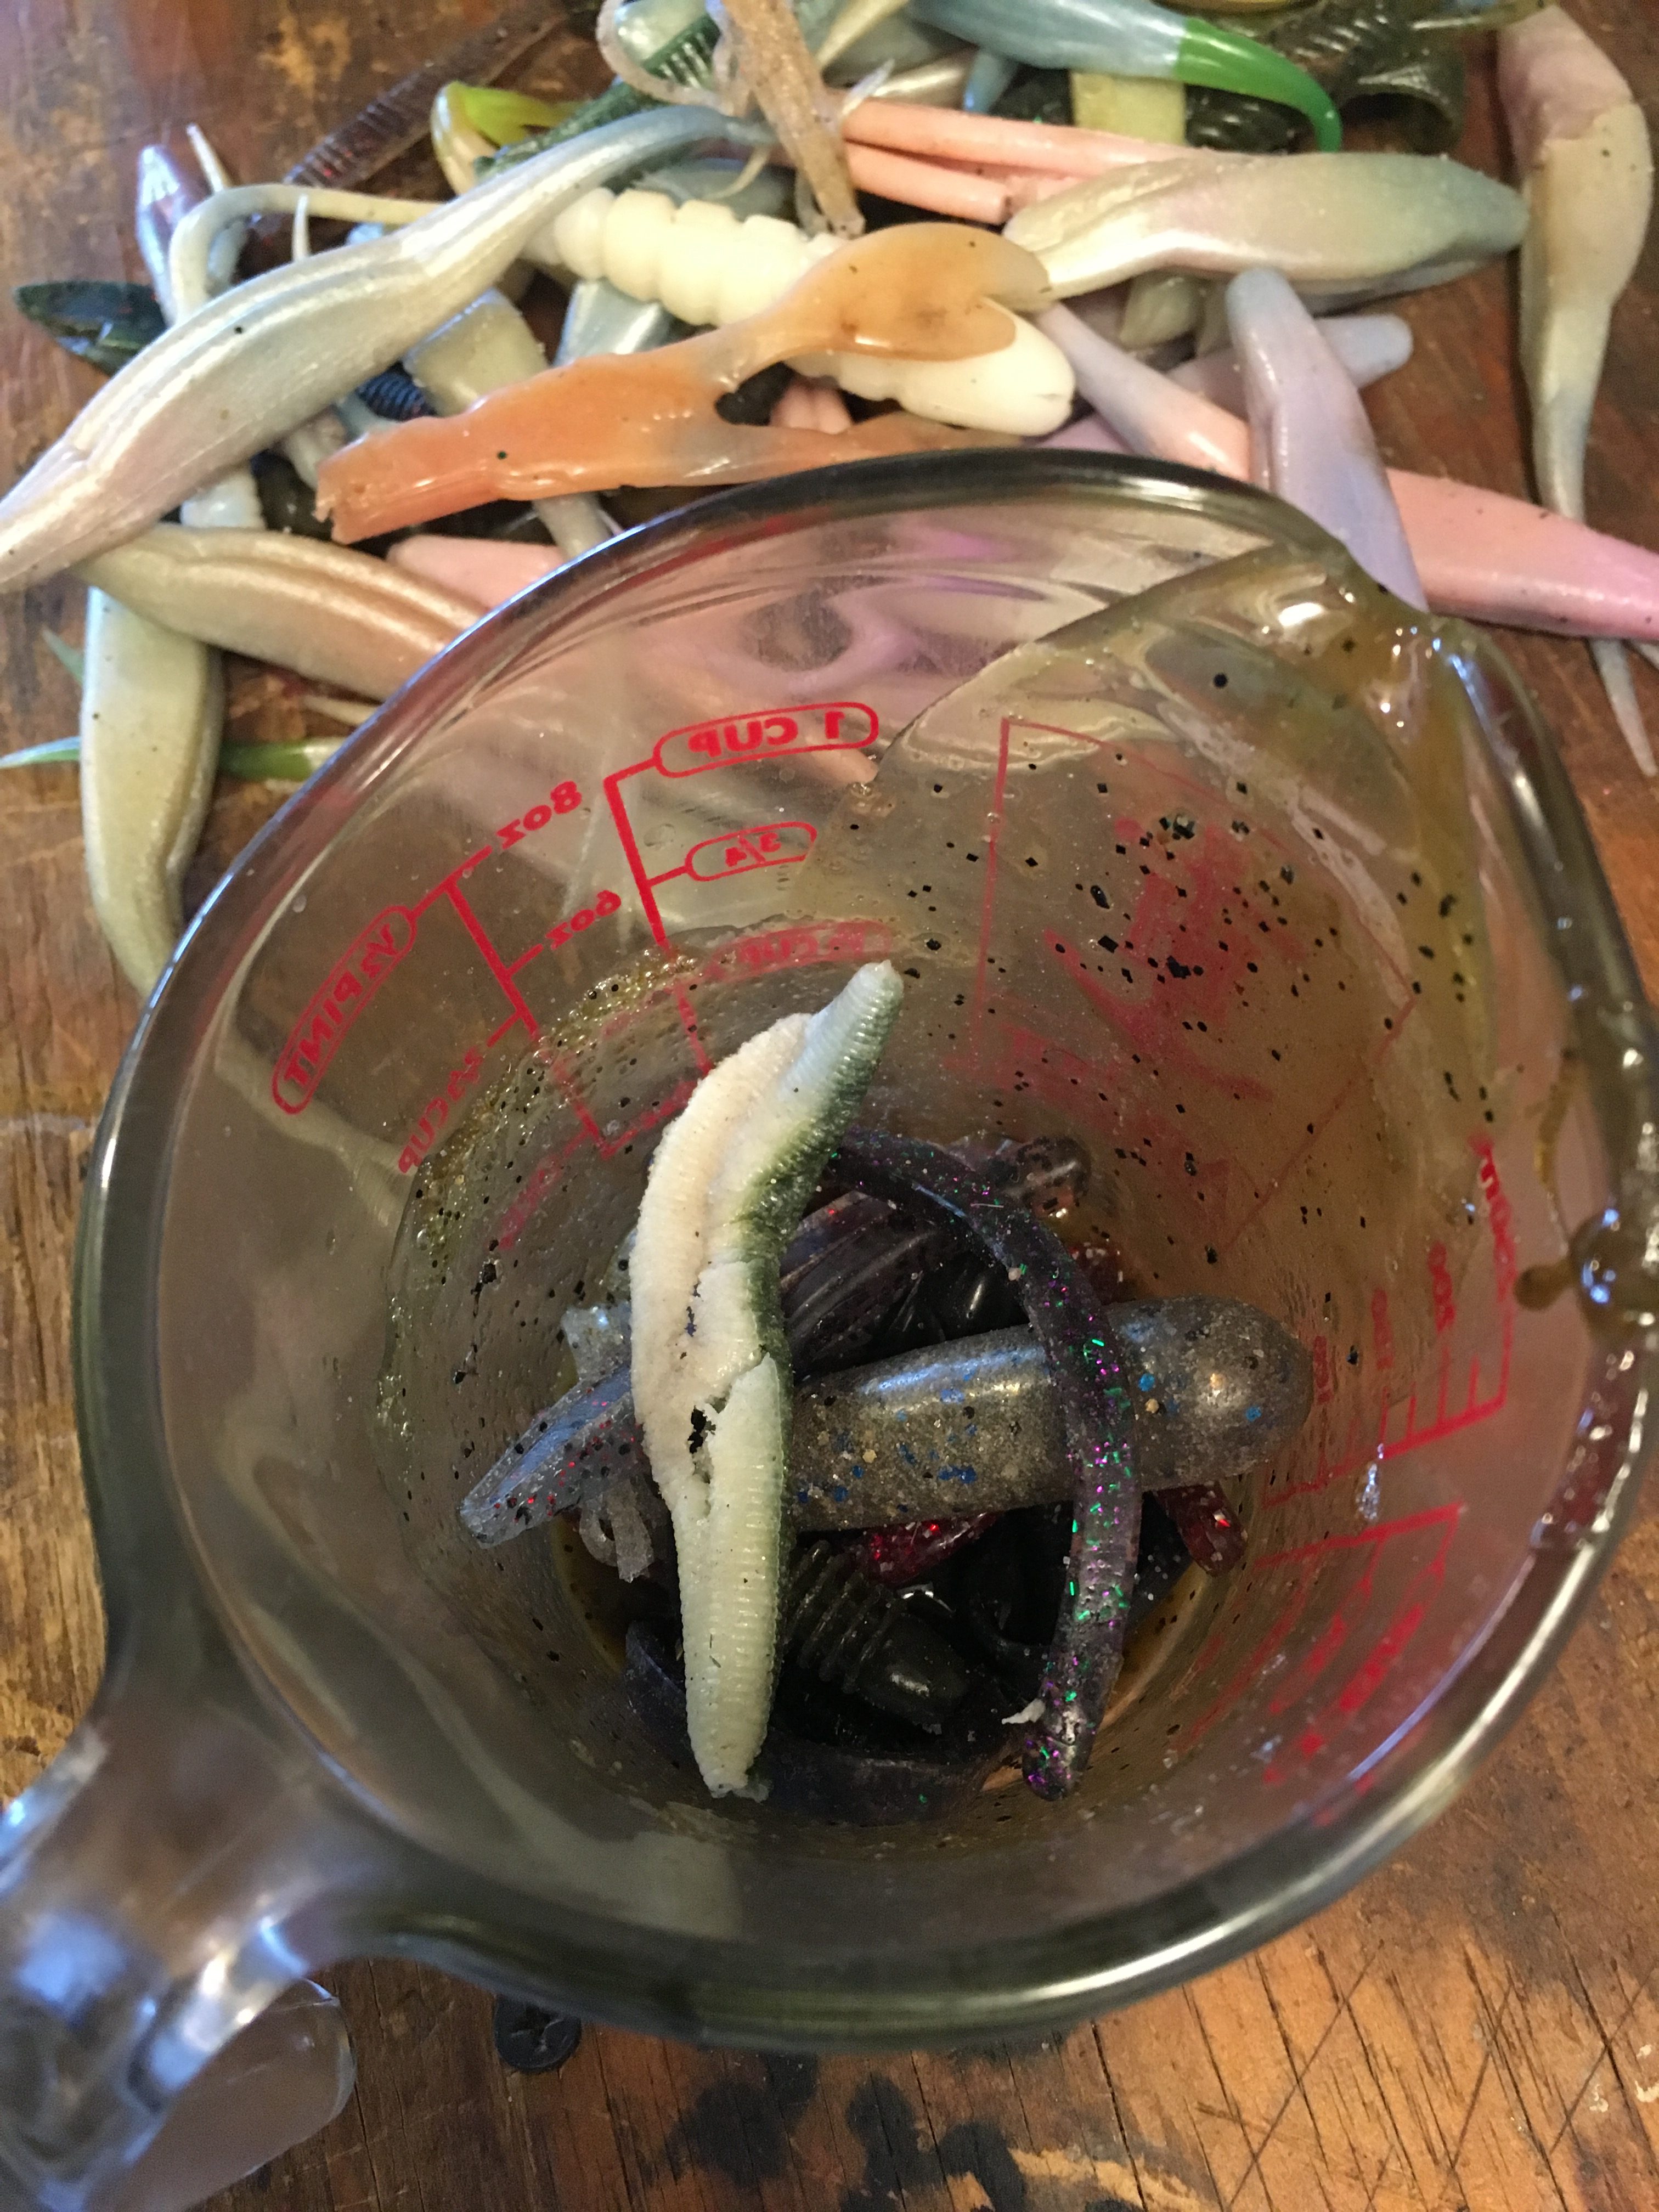
You need a Pyrex glass measuring cup and an old microwave. I say old because you do not want to use your current household microwave to melt plastic down in and cook you food in later. Get a used one for the job. Pick out what you want to melt down to create your own fishing lures and put them into the Pyrex glass.
Step 3
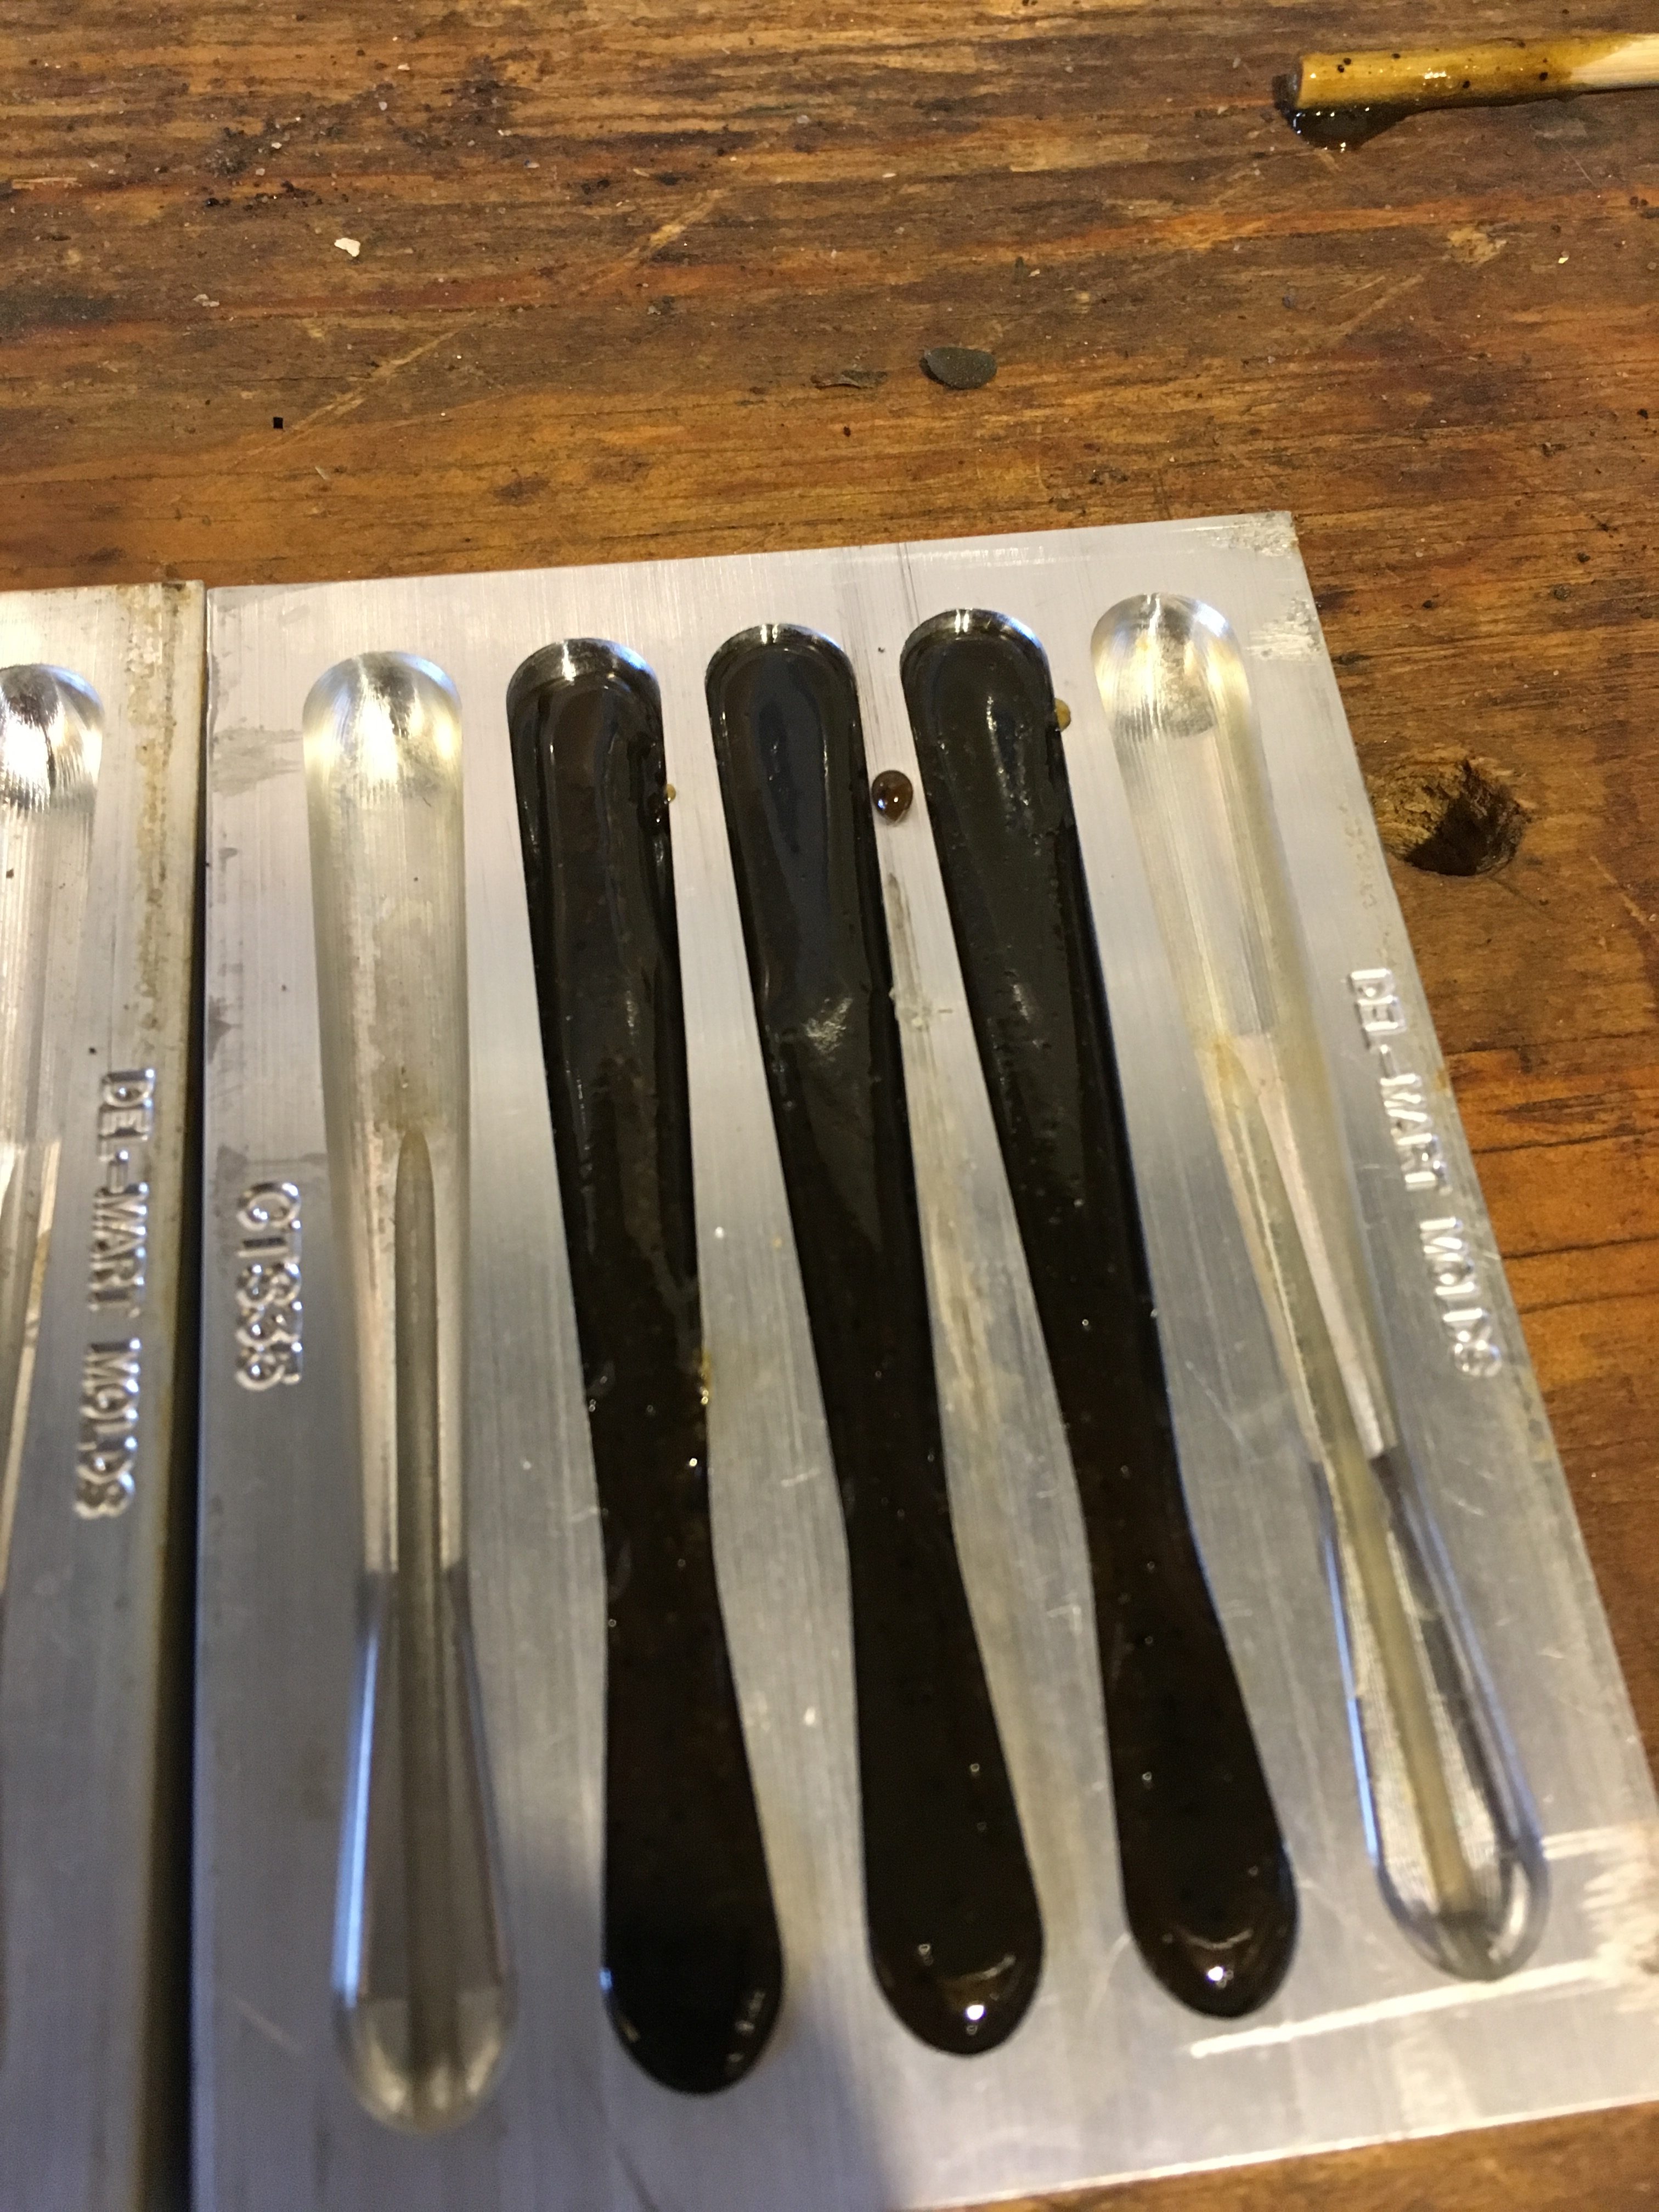
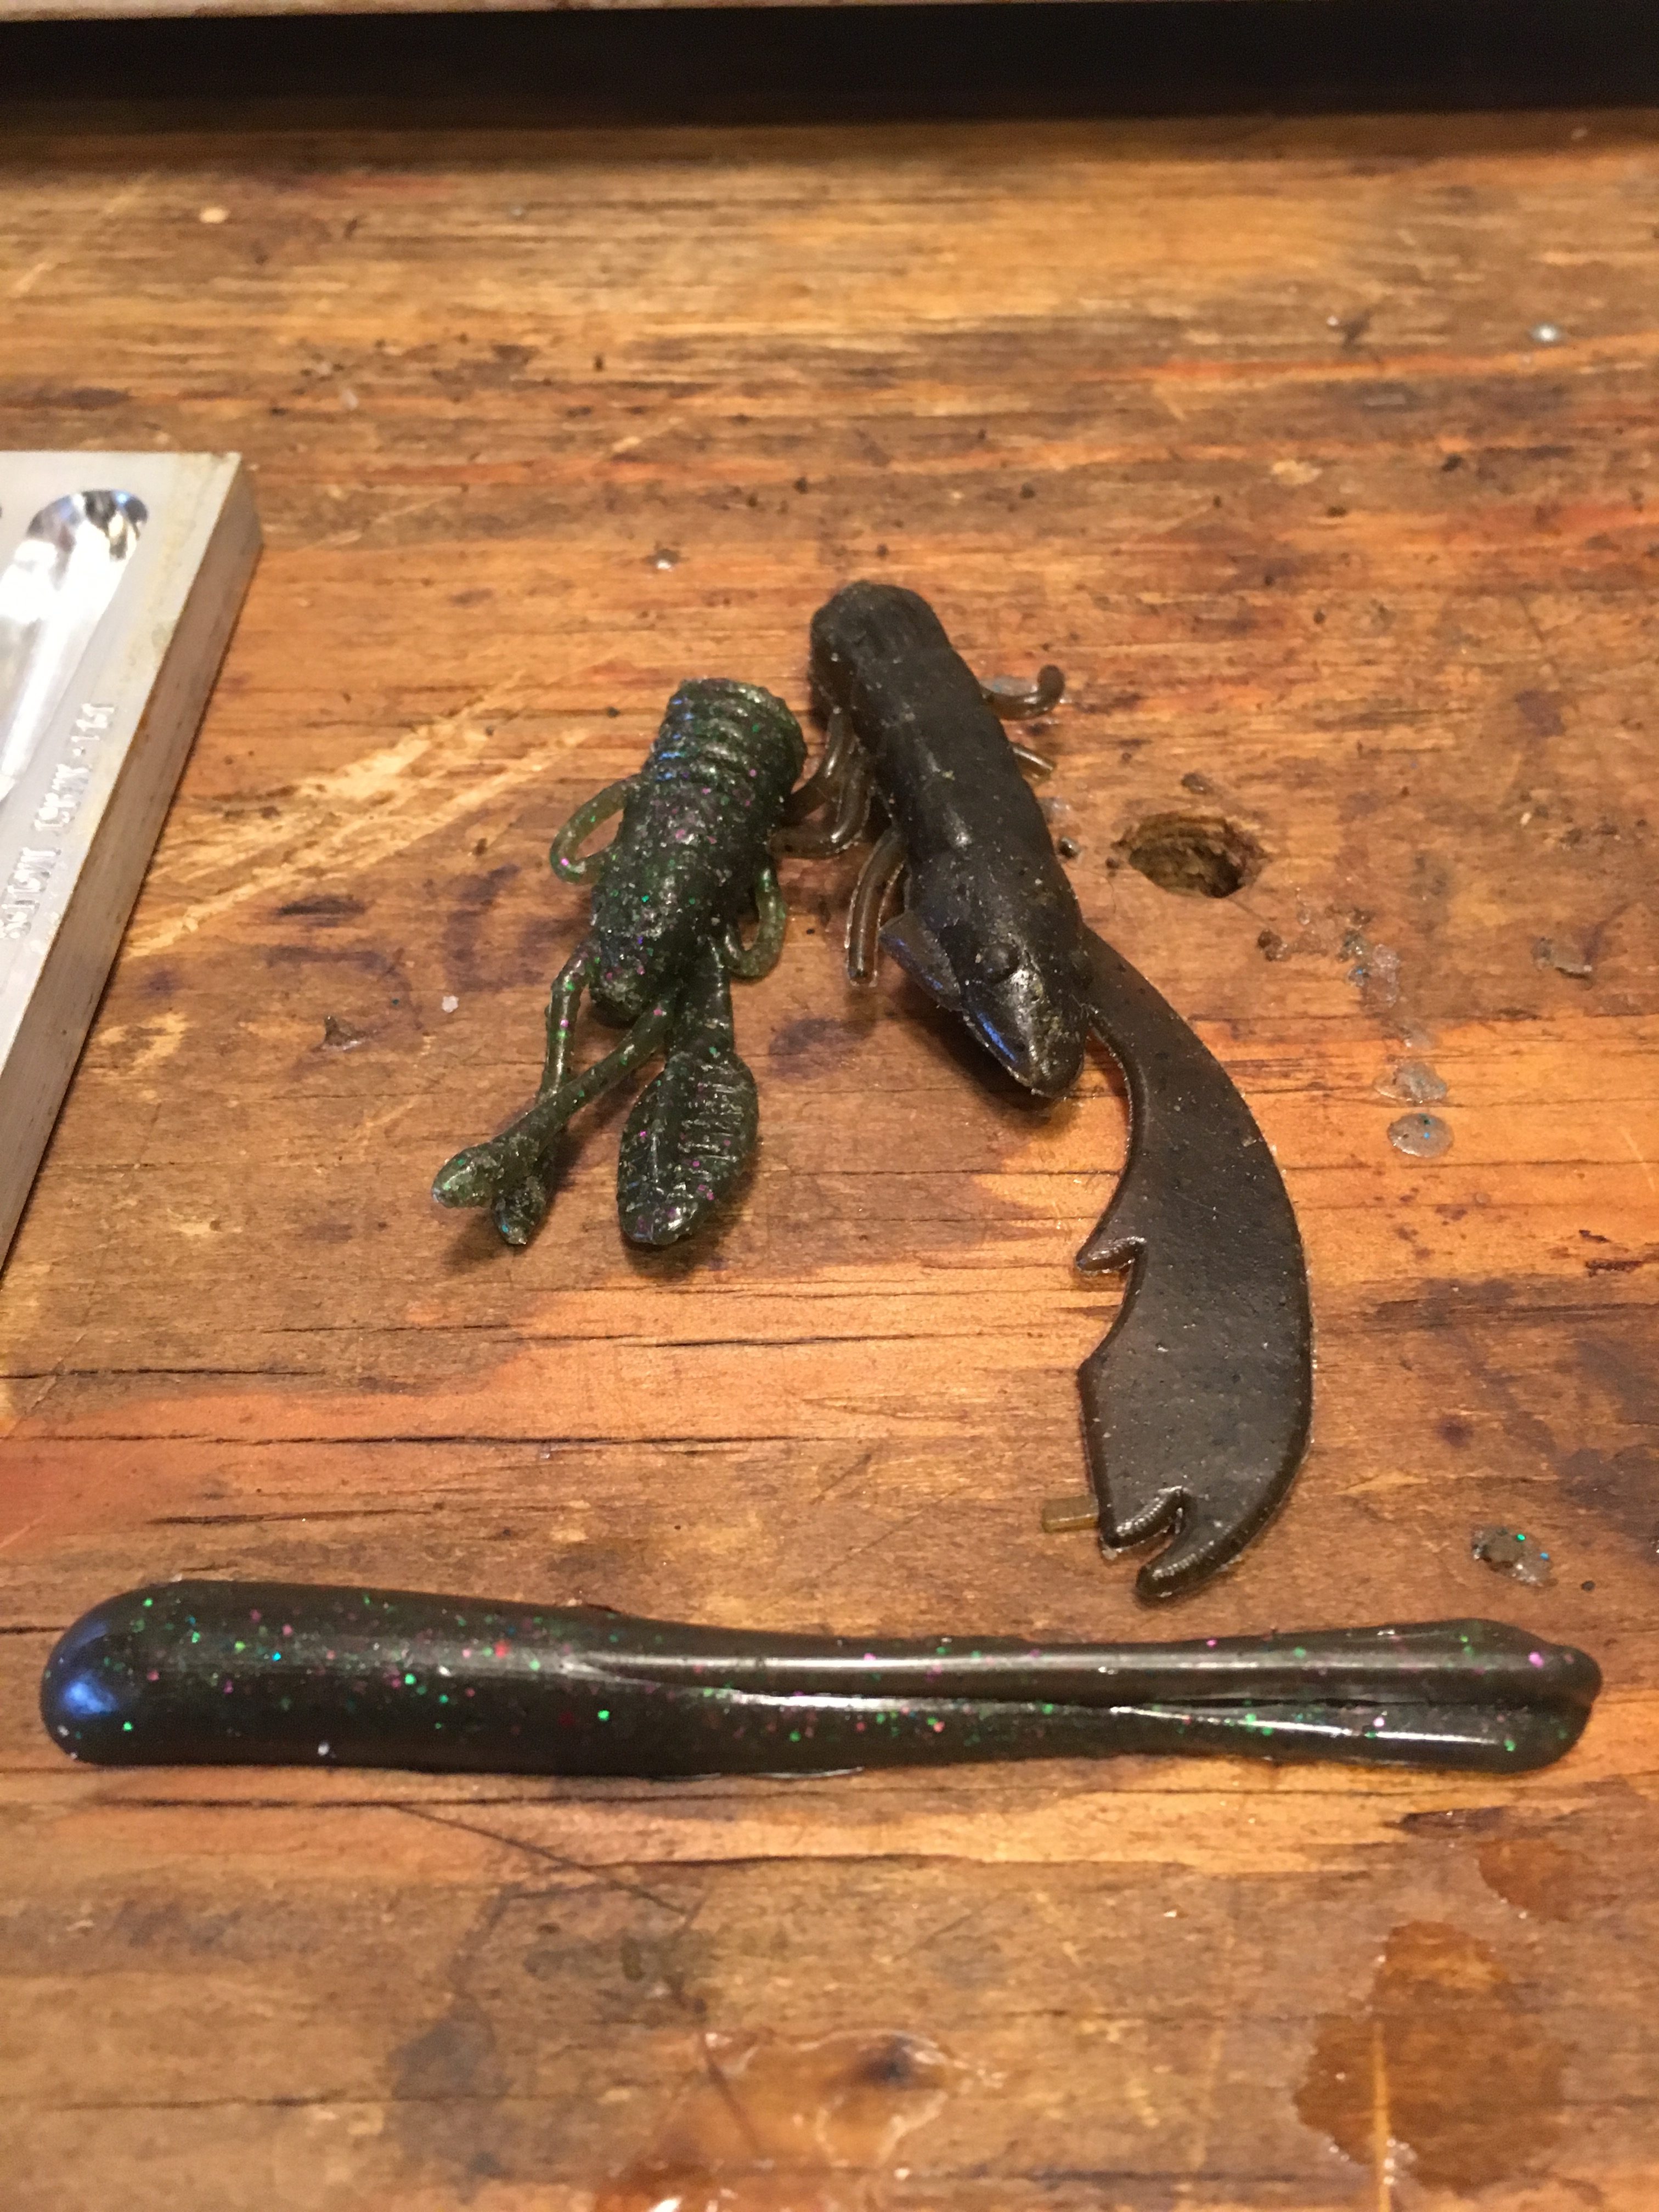
Put the measuring cup into the microwave and melt the plastic down. Around 1 minute on high will work for most small batches. Through trial and error you can find what time is the sweet spot for the best consistency of your baits. When it finishes stir with a stirring stick to release the gas from the bubbles created during the melting process and get yourself a nice texture of plastic. Then you pour, if you’re hand pouring, or fill your injector if you’re injecting the baits into an injector mold. The picture below is an example of a few ripped plastic crawfish melted down into a dropshot style mold.
Step 4
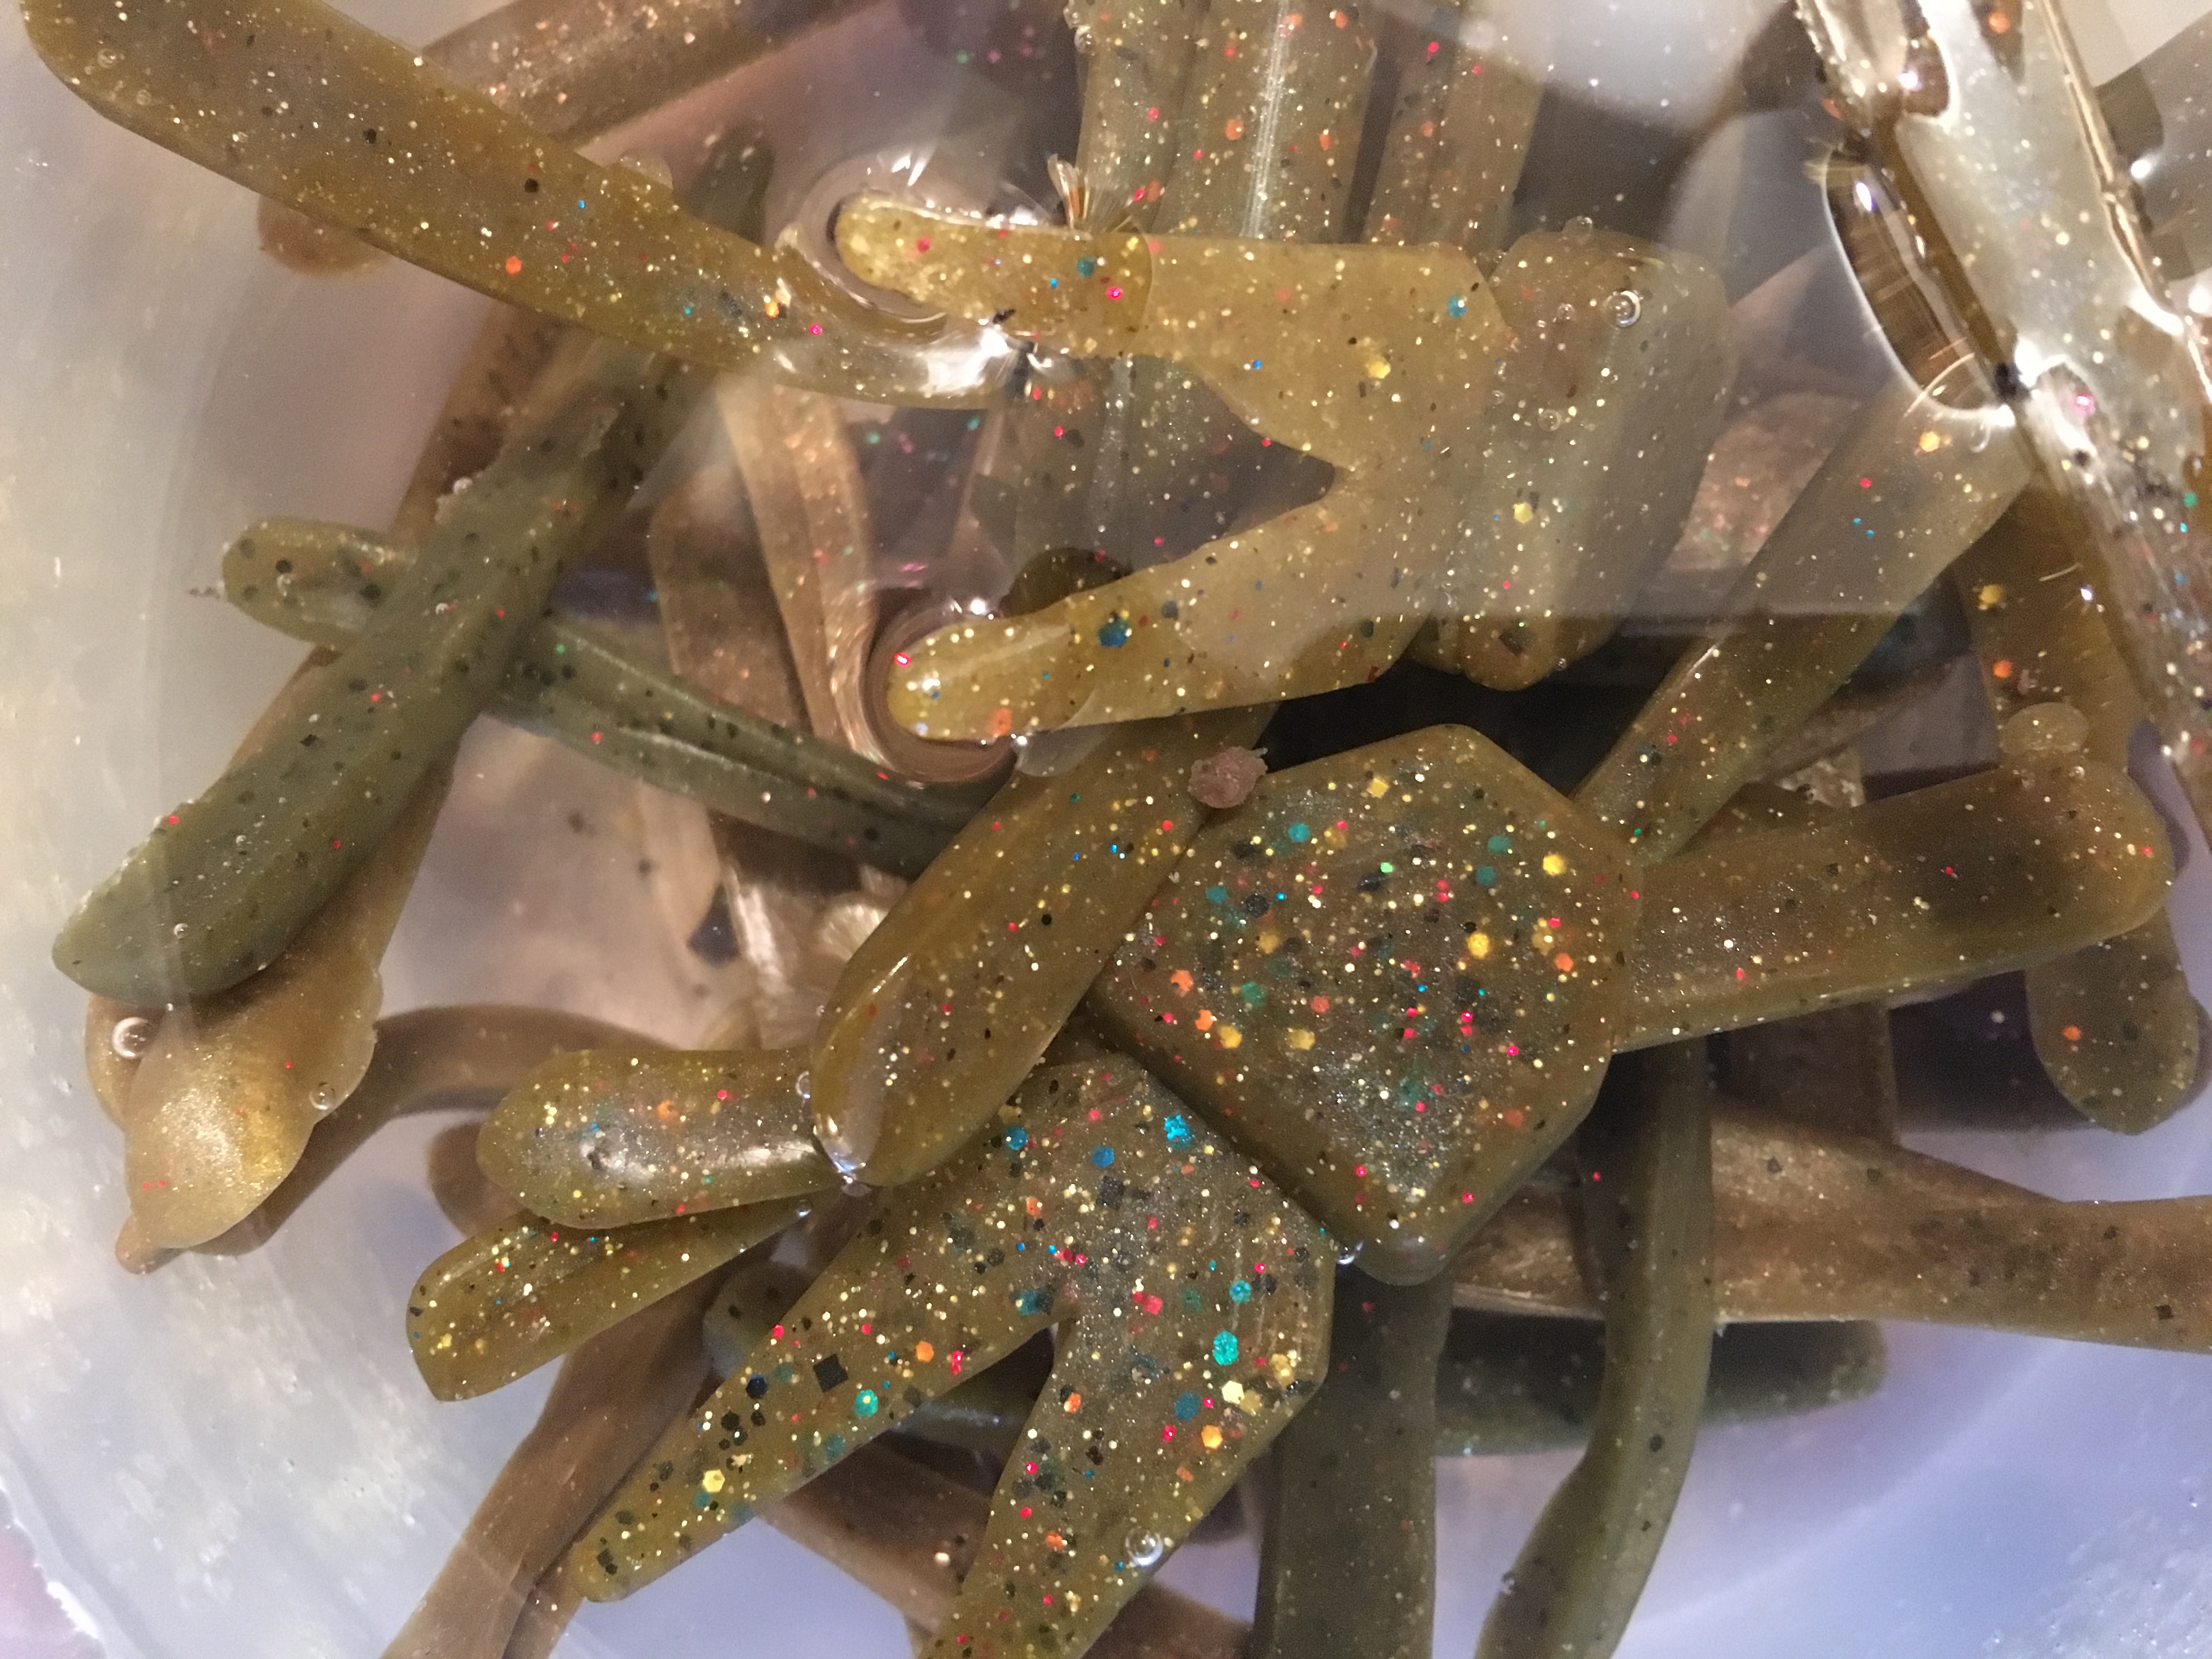
Let the baits cool before removing them from the mold. It’s usually a good idea once they cool and form enough to remove to set them in a bucket of water so the plastic fully sets. They will still feel tacky when your first take them out but the water will finalize the process. Finally you can cover them with external scent before bagging or storing them for use!
Step 5
Let your baits dry off before storage. There are many things you can do throughout this process to make things uniquely yours. Some people add scent to the plastic before pouring. Even salt or garlic and glitter can be added. There are softeners available and hardeners to change the consistency of the plastic. You can go as creative and as complicated as you want to go. In the end though, you can simply melt down and recycle your old baits that are ripped and on their way out for another round of fish catching!

Check out more at – www.bradparadisfishing.com
That is such a nice trick. Thanks for sharing
Nice article!
dont forget to use a little mold release when injecting.